

Our friends over at Beef Lovin’ Texans and Vianney Rodriguez of Sweet Life, who makes what can be a complicated recipe easy, have generously allowed us to share all of this delicious tamale content! Many thanks!
This blog post content is coming to you straight from the Sweet Life. Check out the original post HERE. Be sure to check out her other delicious beef recipes!
If you are nervous about making tamales at home, no need to worry. Today, I am sharing all my tips & tricks to set your mind at ease when attempting tamales at home.
My first tip – break up the process by prepping ingredients a few days in advance. Breaking up the prep as much as you can in advance helps to make the process of making tamales at home manageable. Breaking up the process does not leave me feeling overwhelmed the day I assemble/steam the tamales. This post is a collaboration with Beef Loving Texans on behalf of the Beef Checkoff.
Let’s begin with the corn husks.
CORN HUSKS/HOJAS
What are corn husks? Corn husks are the outer covering of an ear of corn. They are dried and used in making tamales or to encase foods to be steamed. You can find corn husks year-round here in Texas, pero come December you find them located near the produce area, in huge displays along with dried chile ancho. Look for bags of corn husks: free from tears, free of moisture (which causes the husks to mold) and free of debris. Corn husks are used to make tamales, they hold the tamales together and help keep them from drying out. The corn husks allow the steam to penetrate while the tamales cook. You can also find dried corn husks online.
The evening before you are set to make tamales, remove your corn husks from the package. I like to give them a quick look over, to remove any debris, threads, molded corn husks, or torn husks.
Place your husk in a large bowl or container. You want plenty of room for when you add the hot water.
You can use a cooler, ice bucket, a stockpot, or your sink. Clean each container thoroughly before adding corn husks.
Before we add the corn husk to our container give them a quick rinse under cold water to remove any dirt, dust collected in shipping/storage and any threads.
Place corn husks in the appropriate container, then top with hot water. You will want to weigh down the husks, so they do not float to the top – you want the husks to be submerged in the water the entire time.
I use my Abuelita’s molcajete, but you can use any heavy pot, a Dutch oven works well. I like to soak my corn husk overnight since we make a TON of tamales, but if you only plan to make a few dozen you can soak the corn husks for at least two hours in hot water. You want the husk to be soft and pliable, ready to wrap your tamales.
When you are ready to assemble your tamales, remove corn husks as needed leaving the remaining to soak. Place on a baking sheet, cover them with a damp paper towel to help retain their moisture. If the corn husks begin to dry out, return to water and allow to soak.
Let’s talk about the filling for our tamales.
The brisket filling can be made up to four days in advance. A trimmed brisket works best for this recipe as we want a little fat, but if you have ever cooked a brisket there is a thicker layer of fat near the gristle. You can trim at home or ask your local butcher to trim for you.
Slice the brisket into larger square cuts, this will make for quicker cook time and make for easier shredding. We are seasoning our brisket with onion, garlic, peppercorns. The garlic will be combined with shredded brisket, so feel free to add the cloves whole to the pot, not minced or chopped. Simmer for about 3 hours or until fork tender. Carefully remove cuts of brisket to a cutting board and shred/slice with a knife or two forks. I find using a large chef’s knife works best for brisket.
The chile paste
Ancho chile paste will be added to our shredded brisket. Ancho chiles are dried poblano peppers. They have a smoky, sweet flavor and used to make pozole, moles, marinades, and tamales. We are rehydrating our chile ancho so they will blend easily in the blender. To our pot, we are adding comino seeds (cumin seeds) along with our chiles. You can boil over the stove-top or place your chile and comino seeds into a microwave safe dish and microwave until chiles have softened.
When they are cool enough to handle, slit them open and remove seeds and veins. Place in a blender along with comino seeds and blend until a paste is formed. Next, we will fry the chile paste. Frying the chile paste adds a depth of flavor and gives our filling amazing flavor and color. Sauté chile paste for about 3 minutes stirring all the time. Add beef and garlic, continuing to cook for the flavors to meld. Add ½ cup of the broth and let the mixture cook for about 10 minutes over a medium flame. Season filling with salt as needed. The ancho chile paste can be made up to four days in advance. You can also make chile paste, fry, and add shredded brisket up to four days in advance. Store covered in fridge until ready to assemble tamales.
Let’s make masa
MASA
What is Masa? Masa translates to dough, masa is used to make much more than tamales, it is a powerhouse ingredient in Mexican cooking. Masa is used to make tortillas, gorditas, sopes, huaraches, tylaudas and sopes.
Masa is a dough made from finely dried corn kernels that have been soaked in an alkaline solution, which roughly translates to limewater which softens down the corn, which then is grounded down to make masa.
Here in South Texas, fresh masa can easily be found during the holiday season at tortilleras and bakeries, or the local Mercado offers freshly ground masa.
You can buy fresh masa in three forms:
Preparada, which means it is seasoned with spices and ready to use.
Regular, which means you will add seasoning to the masa, where you can customize your family’s recipe.
Masa Harina, (masa flour) which is like flour, but water or broth is added to quickly form a masa ready to be used to make masa. Think of it as “instant” flour. Just add water or broth and you are ready to make tamales, tortillas, gorditas, sopes, huaraches, tylaudas and sopes. You can find it in the Latin aisle of your local grocery store. This is what we will be using for today’s recipe.
How to prepare masa for tamales:
Preparing your own masa for tamales sounds daunting, if you have never attempted it, but I promise you it is worth it, plus think of all the deliciousness you will be creating.
I like to prepare my masa a day before assembling my tamales, so we are ready to spread the day of.
The key is you want to break up any clumps while preparing your masa fully incorporating in the spices, chile sauce or lard you are mixing it. You want your masa to be smooth and easy to spread.
You can prepare your masa in a stand mixer. This is how I prepare my masa. It makes for easy prep since I prep a ton of masa. Try not to overload your mixer to avoid spillage. First, we melt the lard, add our masa harina to our mixer along with the salt, baking soda, broth, and the lard (one cup at a time). Continue beating for 10 minutes until the masa is nice and smooth. To test if masa is ready for spreading: Drop a dollop of masa in a glass of cold water. If it floats, you are ready to spread, if it sinks add more lard and continue mixing.
Store your prepared masa, covered in the fridge until ready to use, for up to three days. When ready to spread, allow masa to come to room temperature for easier spreading.
Now that we have our masa & filling ready, let’s assemble our tamales.
Assembling the tamales:
I find placing the damp corn husks on the palm of my hand makes for easier spreading. Using a spoon or knife spread your masa over the broadest part of the corn husk, allowing for turning down about 2 inches at the pointed top. Spread the masa approximately 3 inches wide and 3 ½ inches long.
Next, with a fork or spoon add some beef filling down the middle of the dough (about 1 Tbsp.). Fold the sides of the corn husks together firmly. Fold up the empty 2-inch section of the husk, forming a tightly closed “bottom” and leaving the top open. Place assembled tamales on a baking sheet or baking pan, cover with a damp towel until you are ready to place in a steamer.
Let’s cook and enjoy our tamales.
Cooking the tamales:
Fill the bottom of a tamales steamer with 1 inch of water and bring to a boil. If using a tamales steamer, fill the steamer with water just until you hit the level where the steam rack sits.
Stack the tamales upright, with the folded part down at the bottom. Pack firmly but not tightly. Cover the tamales with more corn damp shucks and cover steamer.
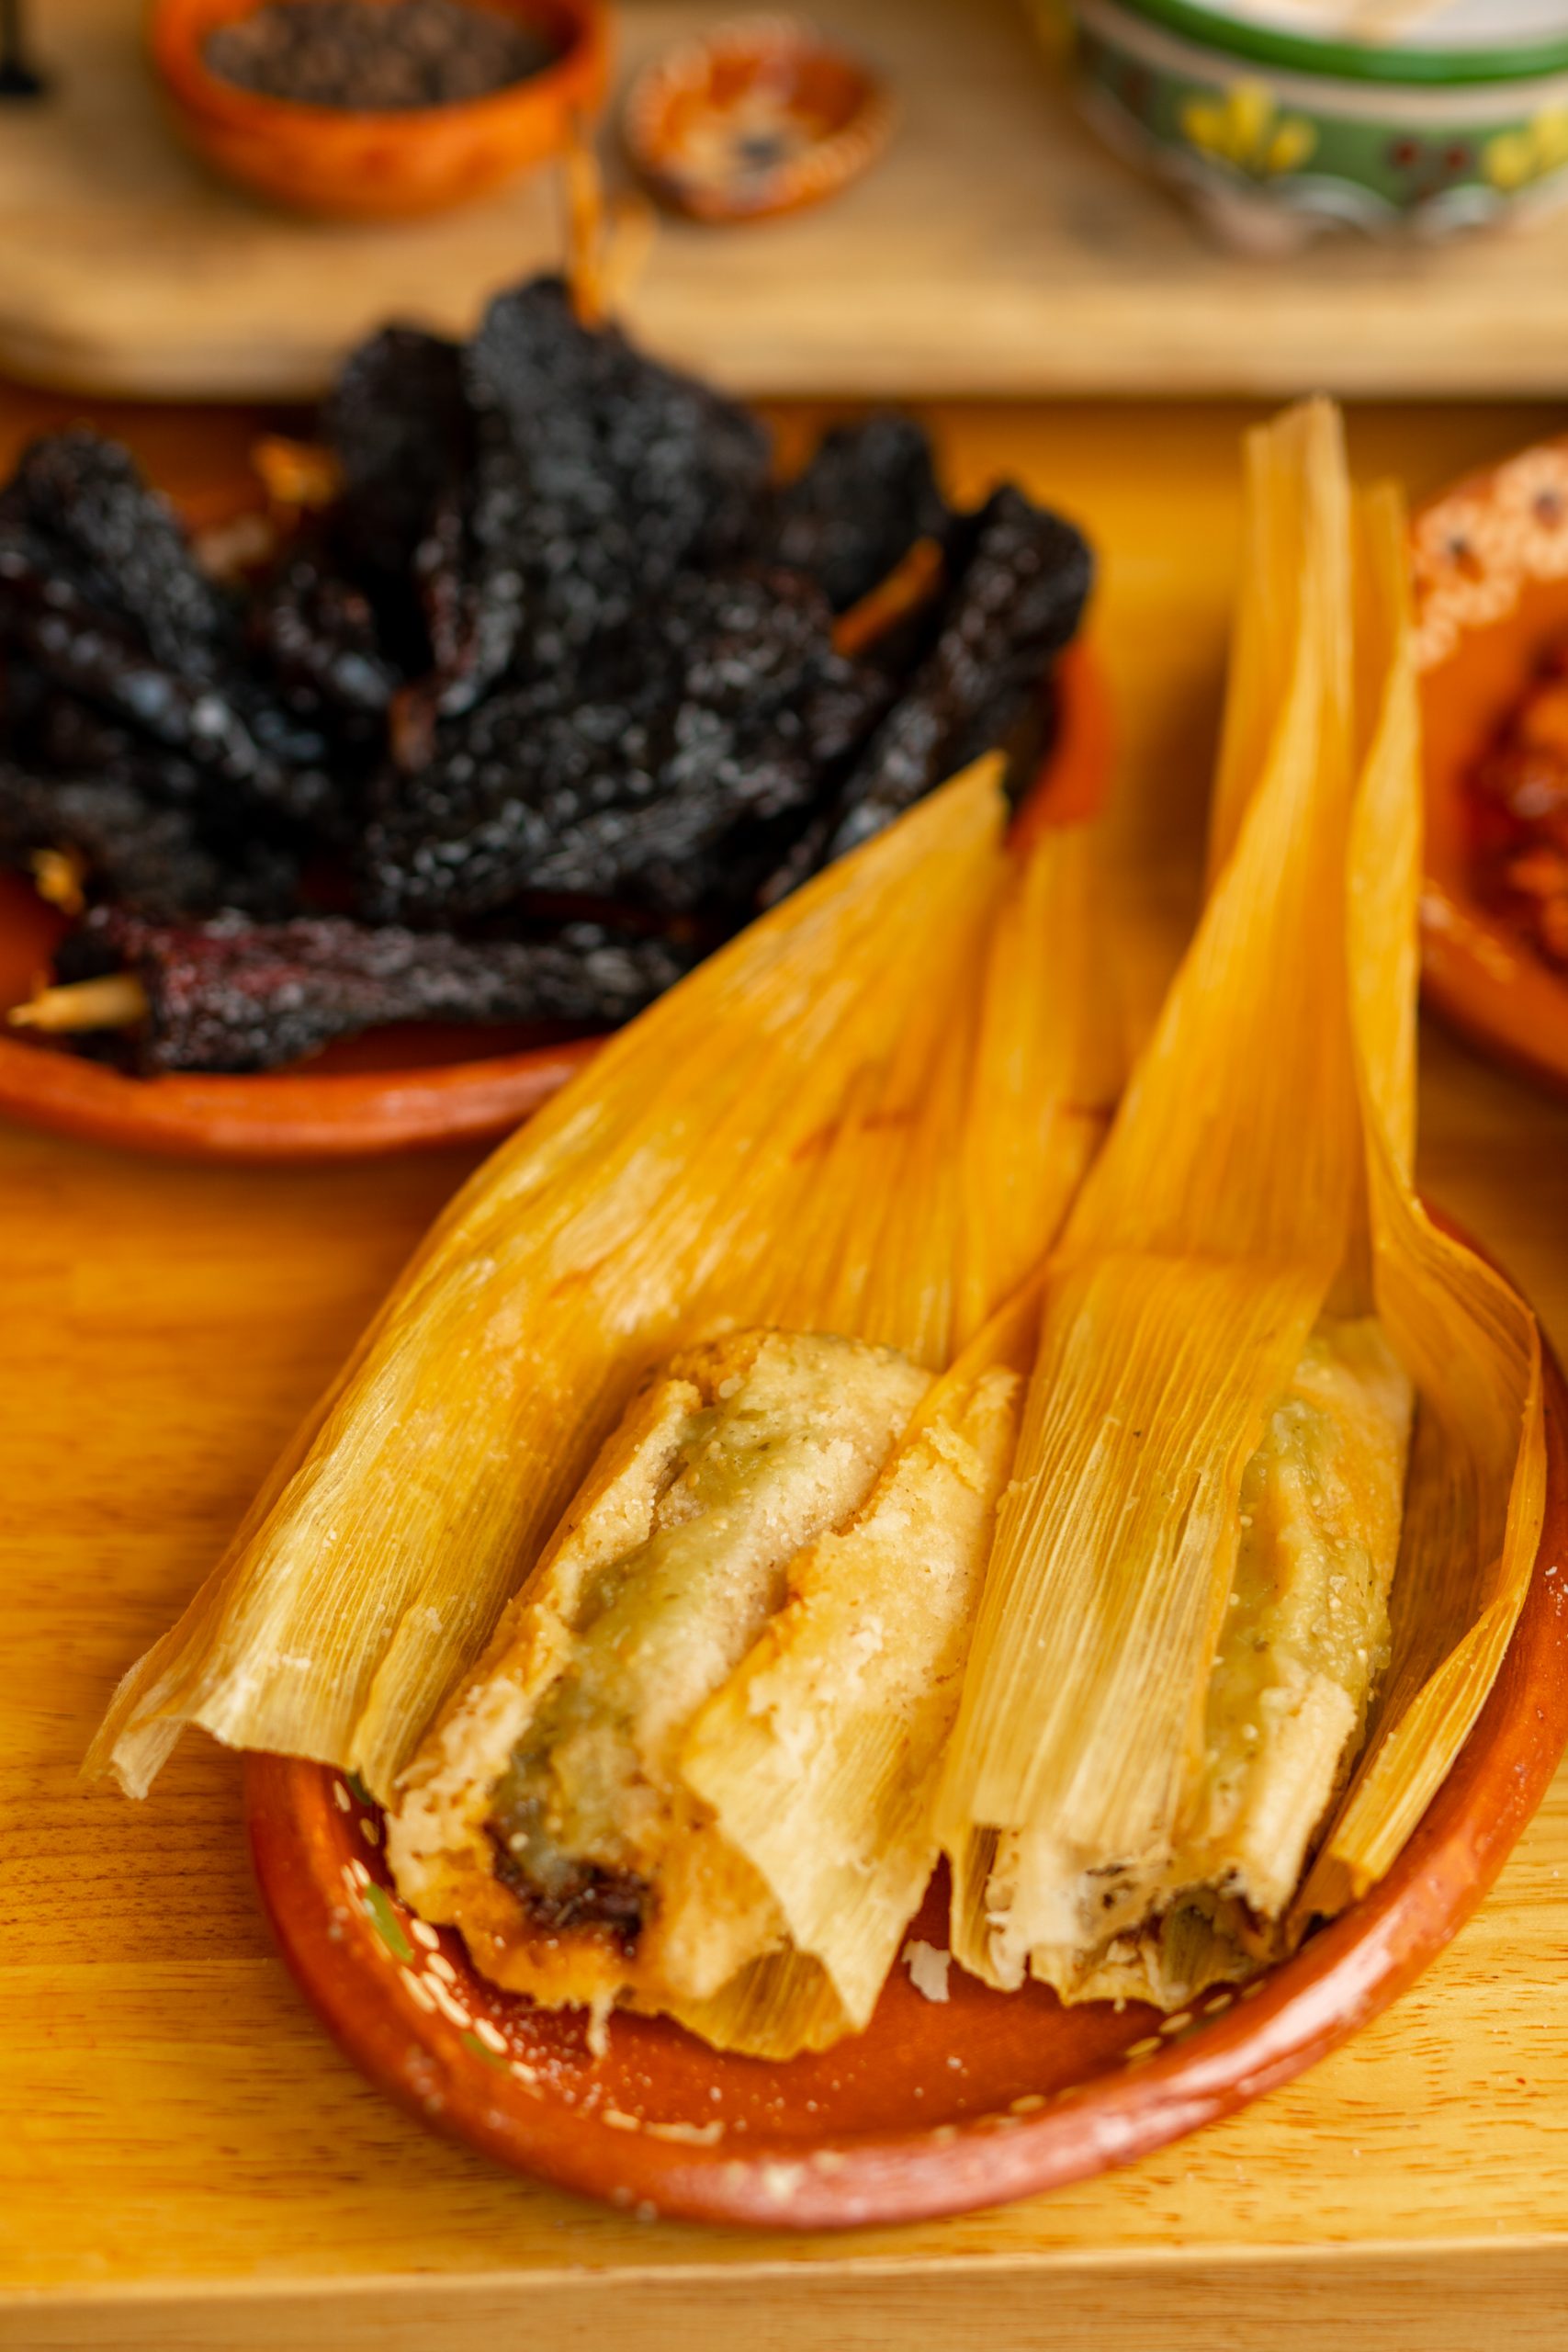
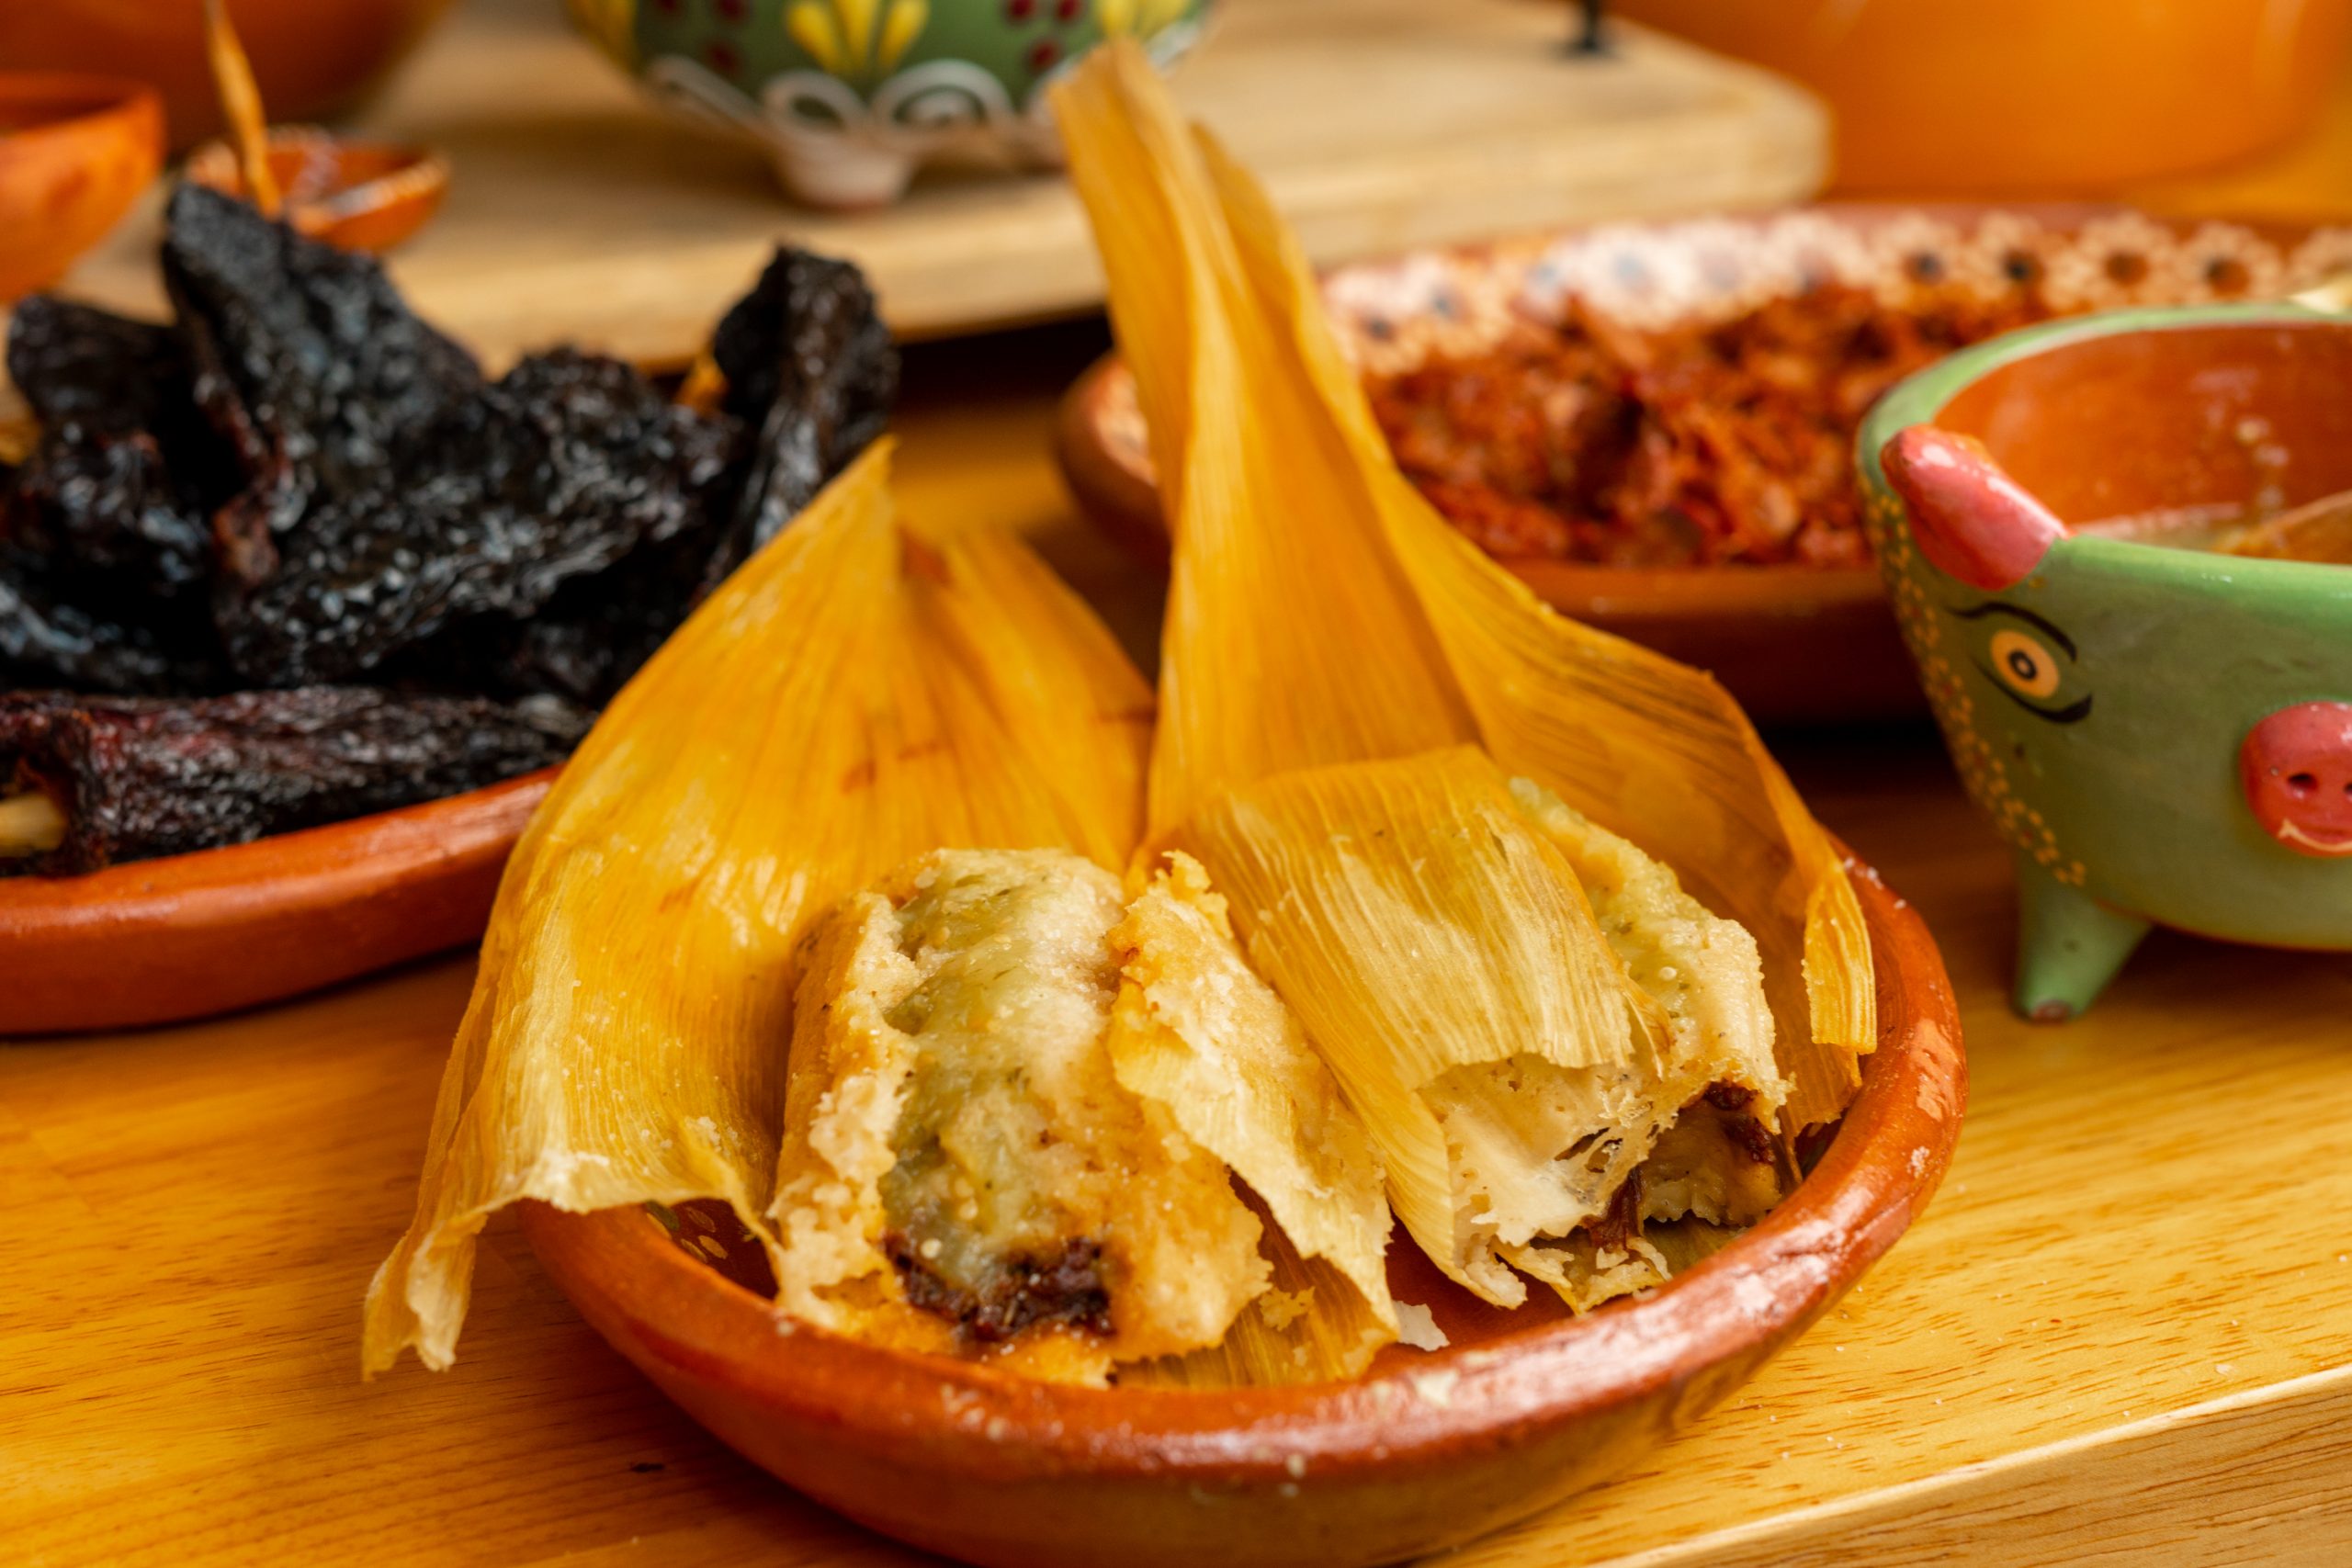
Cook tamales for about 1 ½-2 ½ hours over a medium flame. To test the tamales for doneness, remove one from the center, and one from the side of the pot. Tamales are done when you open the corn husk, and the masa peels away easily from the shucks and the tamale is completely smooth.
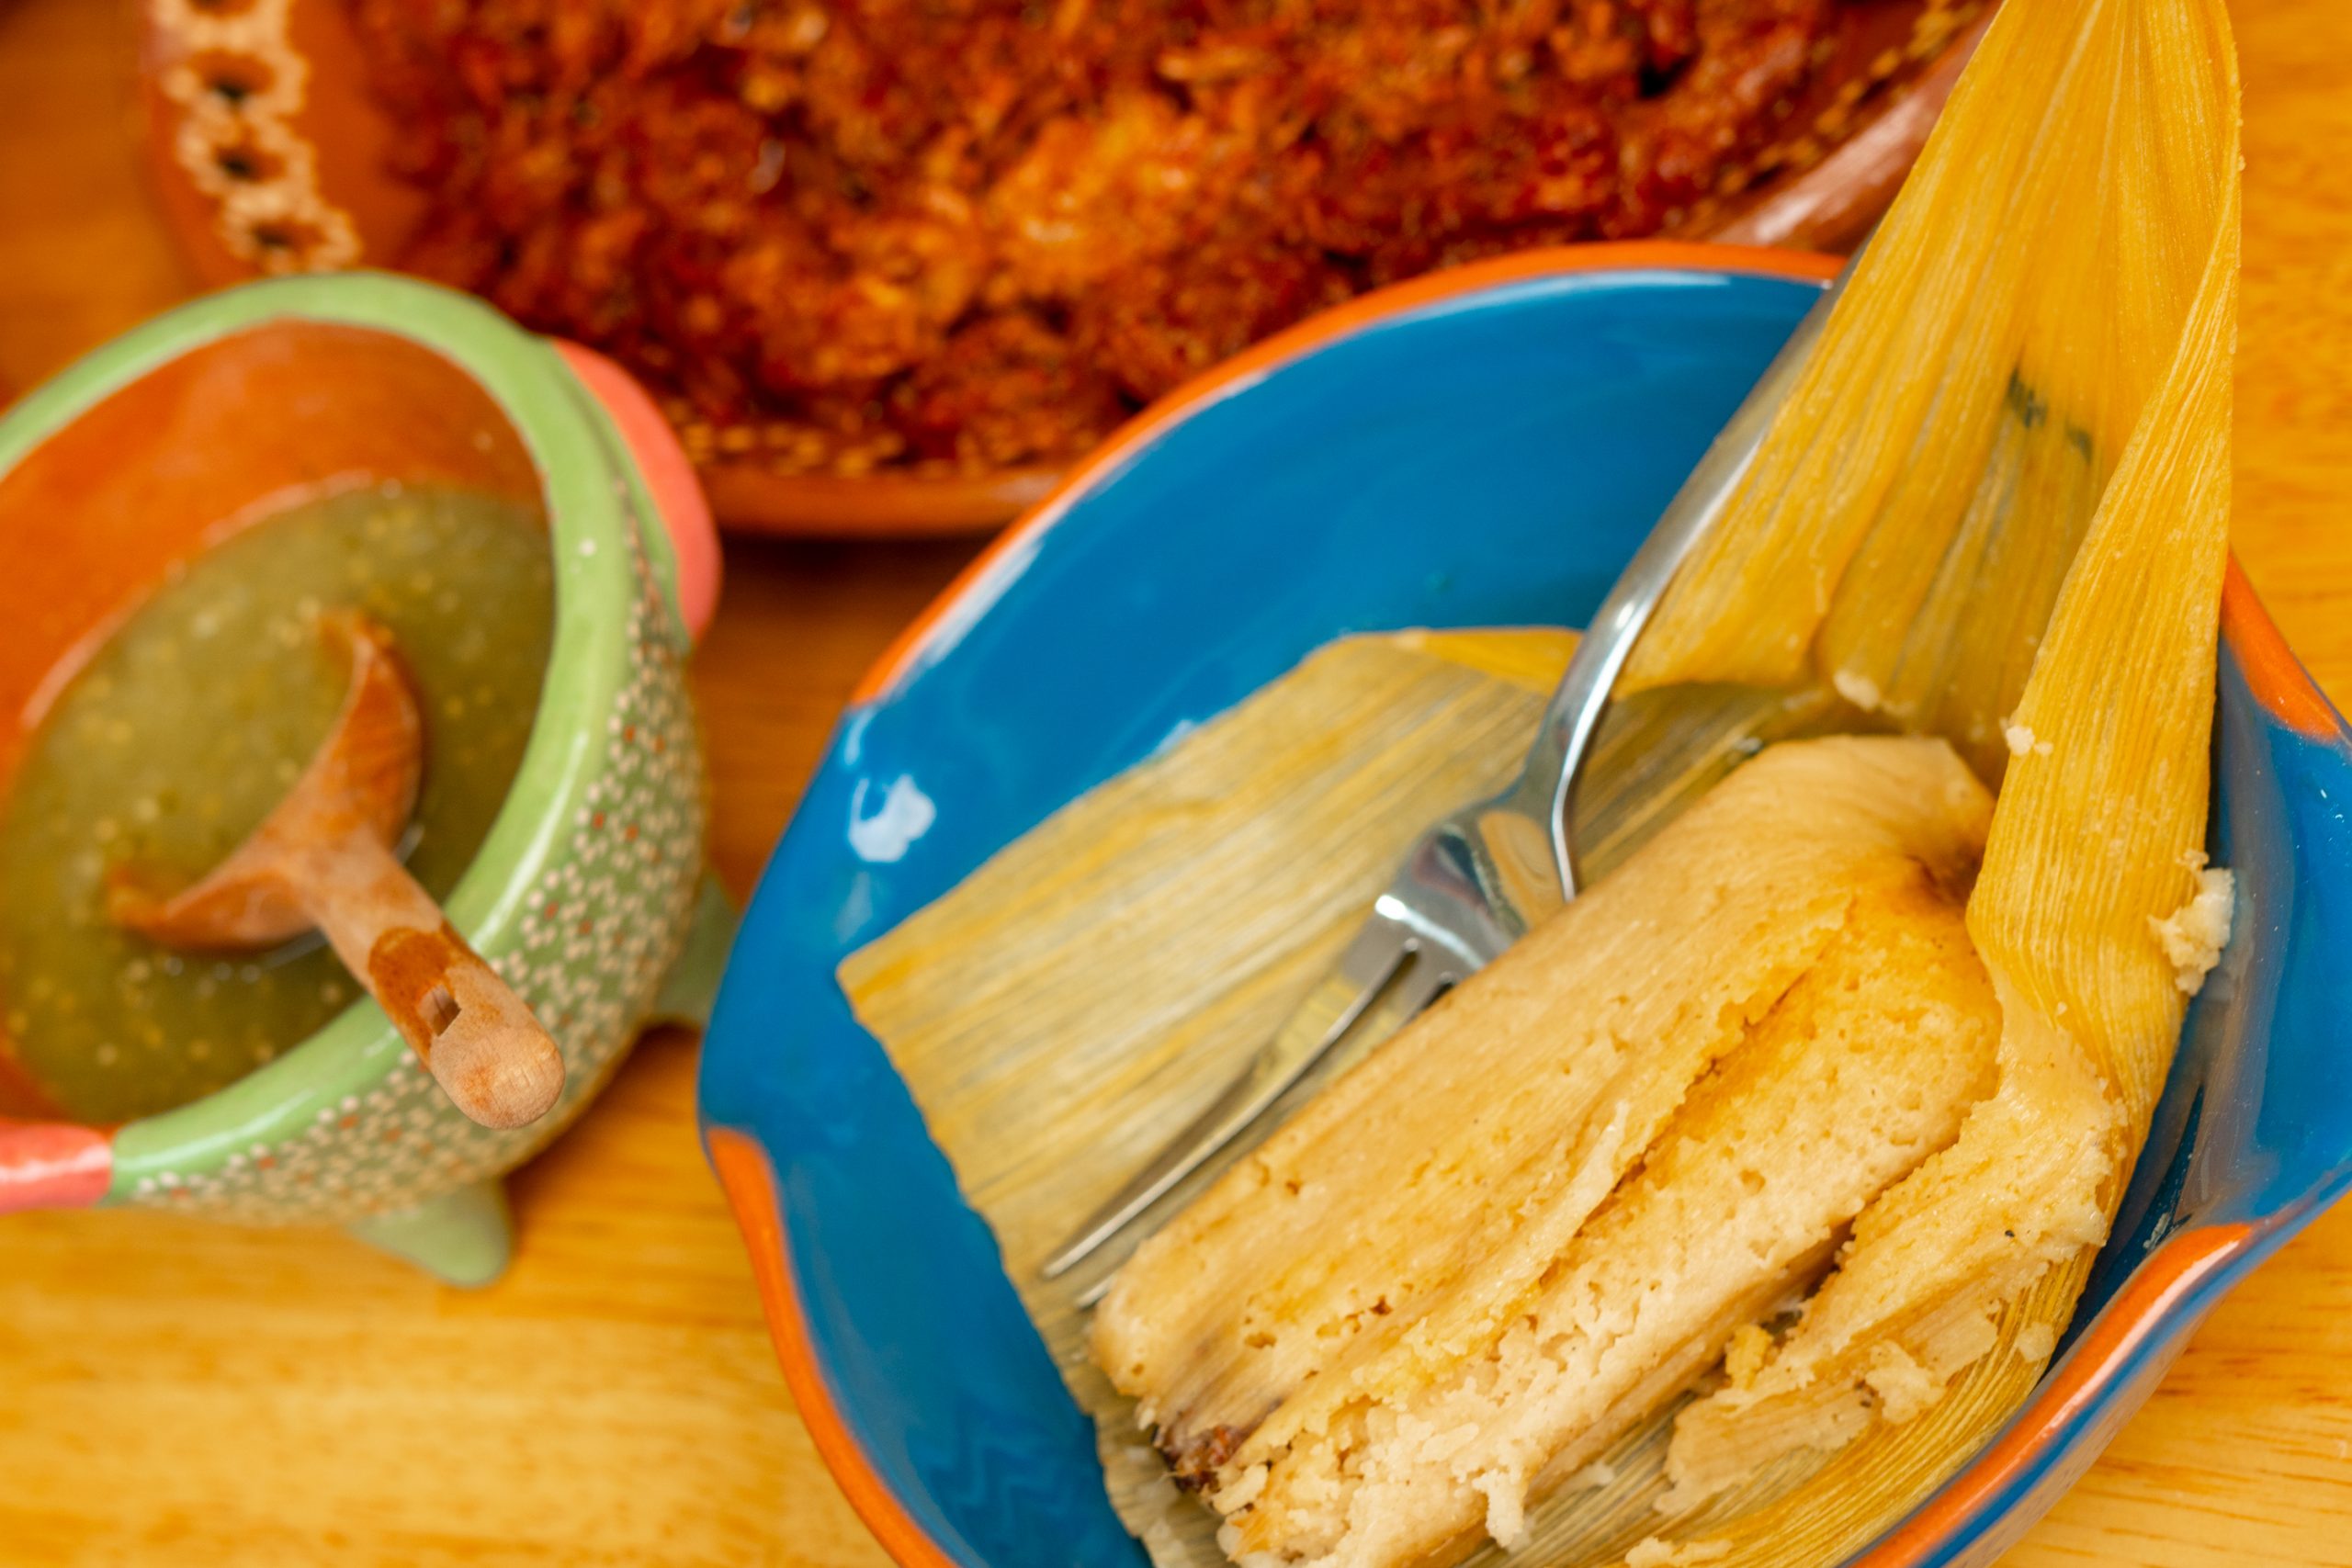
Serve warm with plenty of salsa.
I hope this helps ease your mind of making tamales at home. Prepping in advance and having a few extra hands on-hand will make assembling tamales at home a breeze. Plus, nothing beats a steamy homemade tamale straight from the steamer. I am also including a video below that features each step to help you see the entire process.
Authentic Beef Tamales
If you are nervous to make tamales at home, no need to worry today I am sharing all my tips & tricks to set your mind at ease when attempting tamales at home.
Author: Vianney Rodriguez
Ingredients
BEEF FILLING
- 6 lb. brisket
- 1 onion
- 6 cloves garlic peeled
- 3 tsp. salt
- 6 peppercorns
- 8 dried ancho chiles
- 1 Tbsp. comino cumin seeds
- Water to cover
- ½ lb. lard (Healthier option: 1 cup canola oil
MASA
- 6 lbs. masa from tamale factory OR
- 4 lbs. masa harina
- ½ lbs. lard Healthier option: 2 cups canola oil
- 6 tsp. salt
- 1 tsp. baking soda
- 2 cups of broth from beef filling
CORN HUSKS/HOJAS
- 3 pounds corn husks/hojas
- Hot water to cover
Instructions
- CORN HUSKS/HOJASHojas are corn husks that are dry and papery but usually clean of silks, trimmed, flattened and ready for use. To soften them, pour plenty of very hot water over them and leave to soak for several hours or overnight. Shake well to get rid of excess water and pat them dry with a towel.
- BEEF FILLINGCut the brisket into large squares and put into a large pot with the onion, garlic, salt, and peppercorns. Cover the beef with water and bring to a boil. Lower the flame and simmer until tender – about 3 hours.Set the beef aside to cool off in the broth. Strain, reserving the broth, and chop beef with garlic roughly.Cover chiles and comino seeds with water and bring to a boil. Let them stand until chiles are soft and water cools. When they are cool enough to handle, slit them open and remove seeds and veins. Using a molcajete or a blender to grind/blend them along with the comino into a paste.Melt lard, add chile paste and sautée for about 3 minutes stirring all the time. Add beef and garlic, continuing to cook for the flavors to meld. Add ½ cup of the broth and let the mixture cook for about 10 minutes over a medium flame. Filling should not be watery. Add salt as necessary.
- MASAIf you get your masa from a tamale or tortilla factory, ask for masa for tamales or masa quebradita. If you use masa harina, get the one for tamales and follow the directions.Melt the lard. Use a large mixer to mix masa, salt, baking soda, broth, and the lard (one cup at a time). Continue beating for 10 minutes or so, until a ½ tsp. of the masa floats in a cup of cold water. If it floats you can be sure the tamales will be tender and light. If it doesn’t float, beat more melted lard into the mixture. Beat until fluffy and semi-shiny. Masa should be of a stiff consistency but spreadable.
- MAKING THE TAMALESUsing a Tbsp. or a knife spread a thin coating of the masa over the broadest part of the corn husk, allowing for turning down about 2 inches at the pointed top. Spread the masa approximately 3 inches wide and 3 ½ inches long.Spoon some beef filling down the middle of the dough (about 1 Tbsp.). Fold the sides of the corn husks together firmly. Fold up the empty 2 inch section of the husk, forming a tightly closed “bottom” and leaving the top open.
- COOKING THE TAMALESFill the bottom of large soup pot or a tamale steamer with 1 inch of water and bring to a boil.If using a pot, either put a molcajete, bowl or ball of aluminum foil at the bottom of the pot and fill in with leftover corn husks. Stack the tamales upright, with the folded part down at the bottom. Pack firmly but not tightly. Cover the tamales with more corn shucks. Cover the top of the steamer with a dishcloth or thick cloth, or cover the pot with a tightly fitting lid.Cook tamales for about 1 ½-2 ½ hours over a medium flame. Keep water in a teapot simmering so that you can refill the pot when necessary. If you use a tamale steamer you should not have to add any more water.To test the tamales for doneness, remove one from the center, and one from the side of the pot. Tamales are done when you open the corn husk, and the masa peels away easily from the shucks and the tamale is completely smooth.